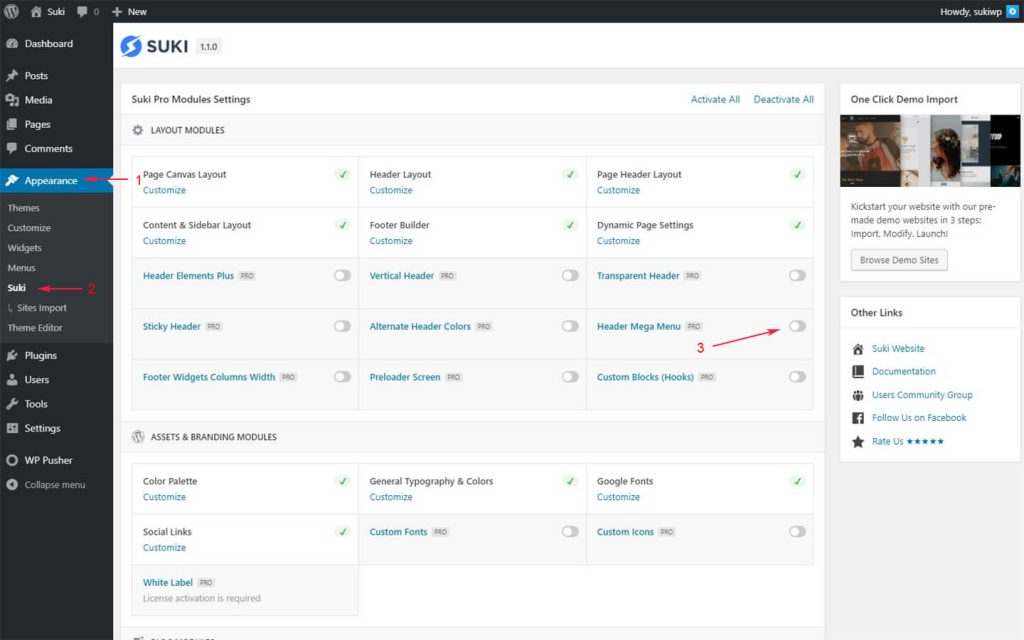
Now you can create a beautiful mega menu using Suki Pro. Mega Menus allow you to add multi-column drop-down menus to your navigation. To activate this module, please go to Appearance > Suki > Header Mega Menu.
You can add custom content into your mega menus such as paragraph, image, custom HTML, and custom block that you have created using Gutenberg or Elementor Plugin using shortcode. You can also set a custom width for each column.
How to create Mega Menu ?

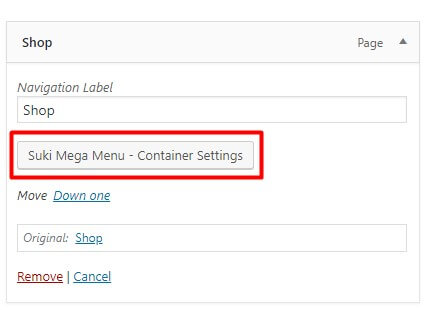
First, go to Menu settings ( Appearance > Menus ) and then select the menu item that you want to use as a mega menu, e.g. “Shop” menu item as shown in the screenshot above and click “Suki Mega Menu – Container Settings” button.
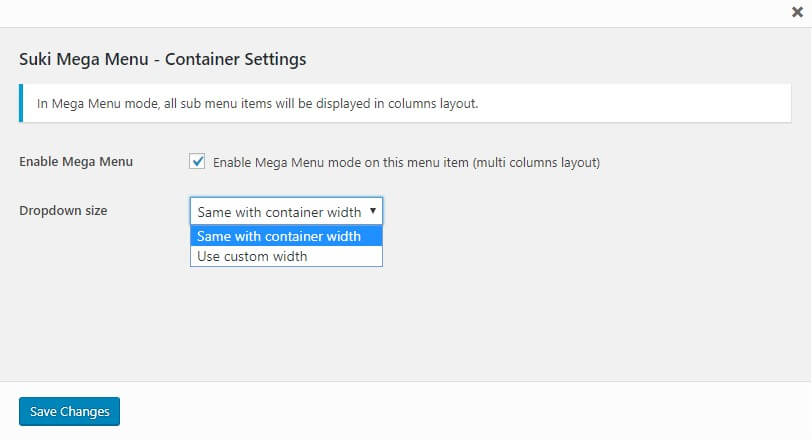
Tick the checkbox “Enable Mega Menu”. This option will enable mega menu options for all submenus of the parent menu. You can also set Dropdown Size for Mega Menu container width.
There are 2 options for Dropdown Size:
- Same with container width ( menu container )
- Custom width ( set the width in px )
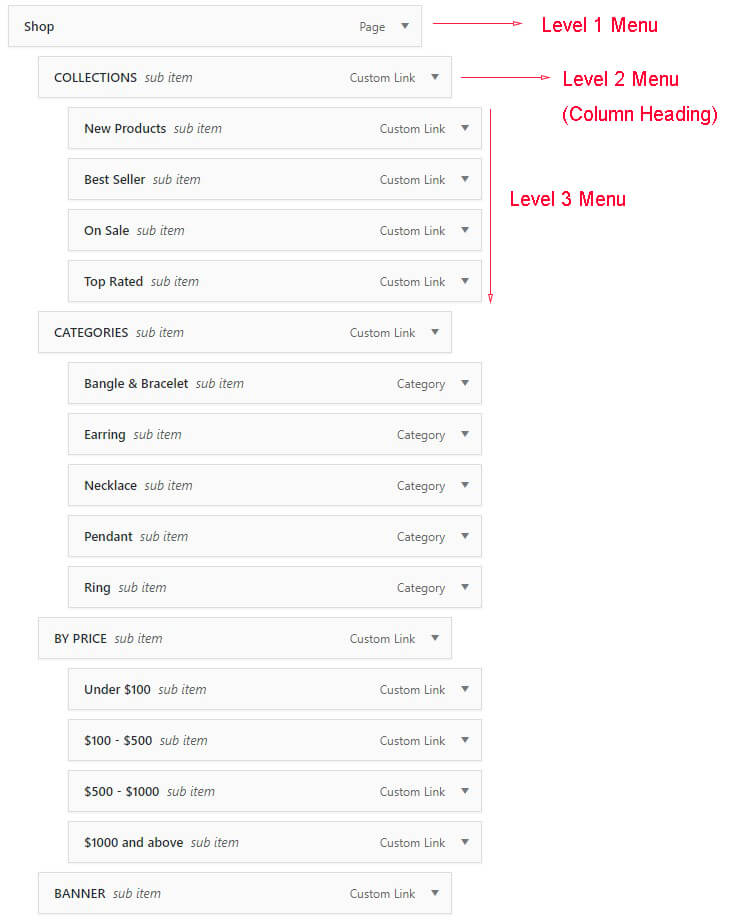
Suki Pro will automatically create a separate column for each submenu (level 2 menu). The navigation label of level 2 menu will be a column heading. All level 3 menus will appear below this level 2 menu as you can see in the screenshot above (Suki Header Mega Menu).
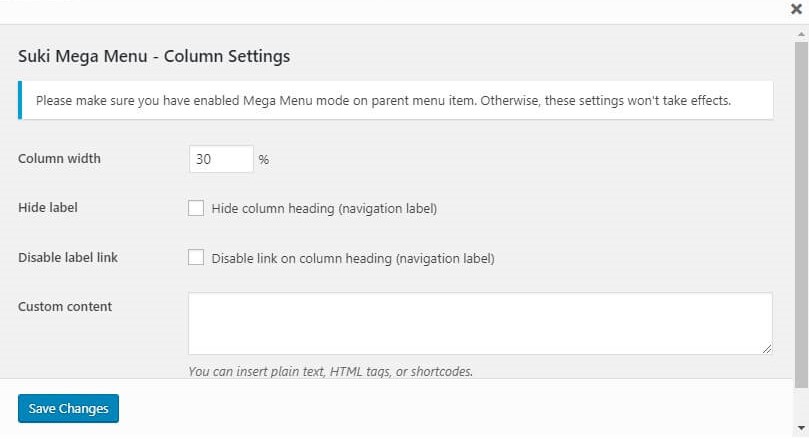
Click Suki Mega Menu – Column Settings from level 2 menu to set each column settings. There are several options in this column settings:
- Column width
- Hide label
- Disable link
- Custom content
After set all settings, don’t forget to save the menu.